Managing Missions
tip
Before creating a mission, ensure you have setup any attributes, quizzes or segments that you want to use.
Creating a Mission
To create a mission, follow these steps:
- Navigate to the Gamification section of the dashboard.
- Click on the Missions tab
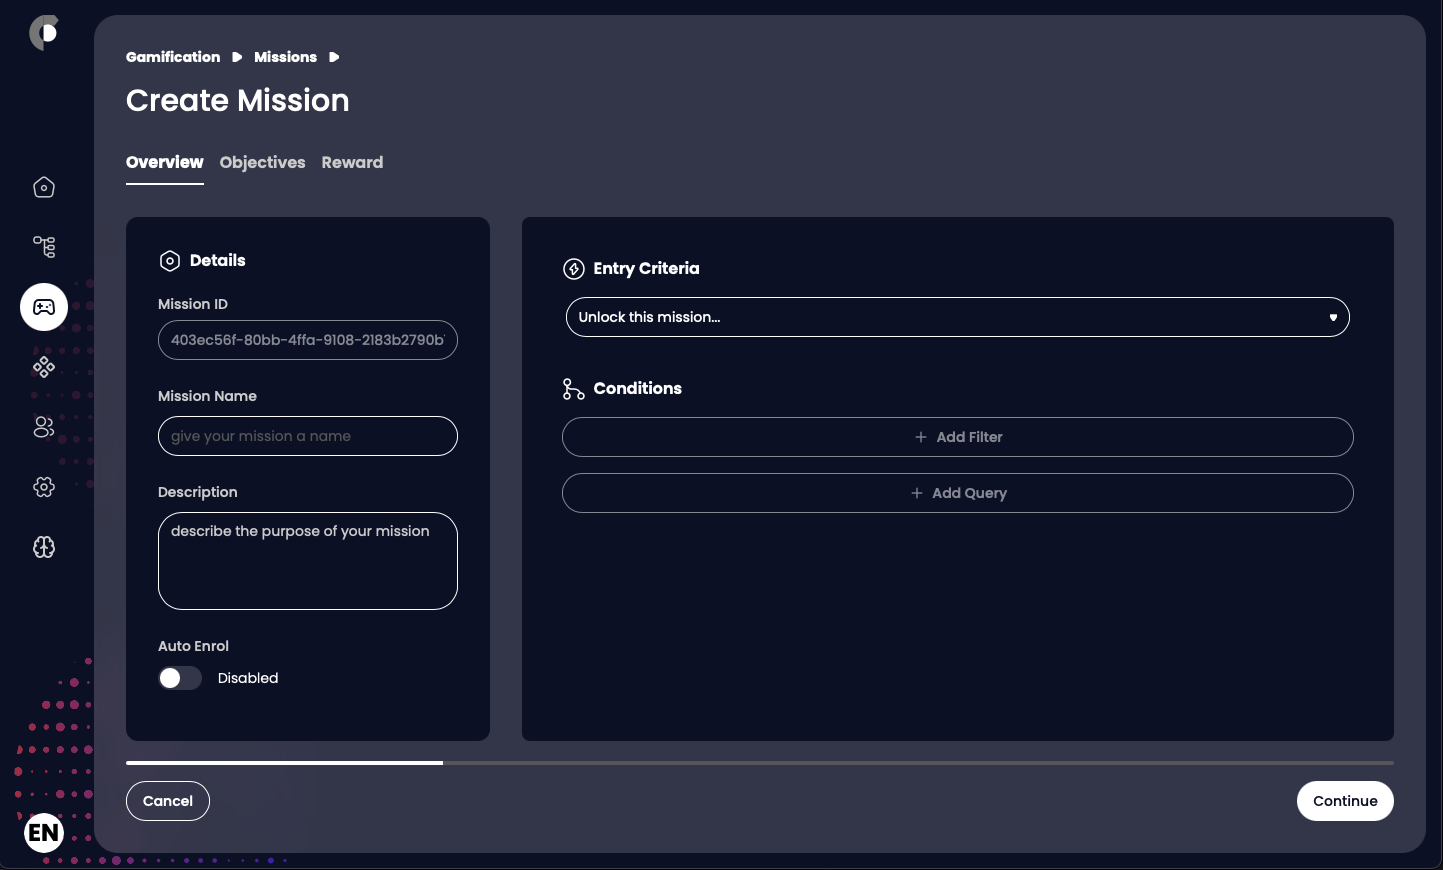
- Click on the Create Mission button to open the mission creation page.
-
Fill in the required fields:
- Mission ID (autogenerated): A unique identifier for the mission. This should not contain spaces or special characters.
- Mission Name: A friendly name for the mission. This is what will be displayed in the dashboard.
- Description: Describes the purpose of the mission.
- Auto Enrol: Toggle whether users should be auto enrolled into the mission
- Status: Toggle between Draft and Active
- Entry Criteria: Define the rules that determine which users will be entered into this mission. You can use attributes, events, and other criteria to create complex rules.
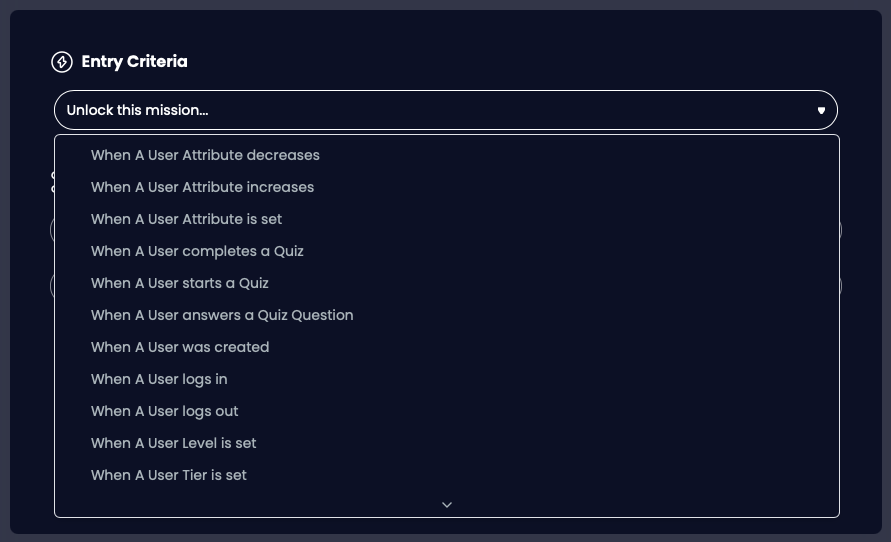
- Trigger Event (Required): The event that will trigger the mission enrolment. This could be an action taken by the user, such as completing a mission or having an attribute value change.
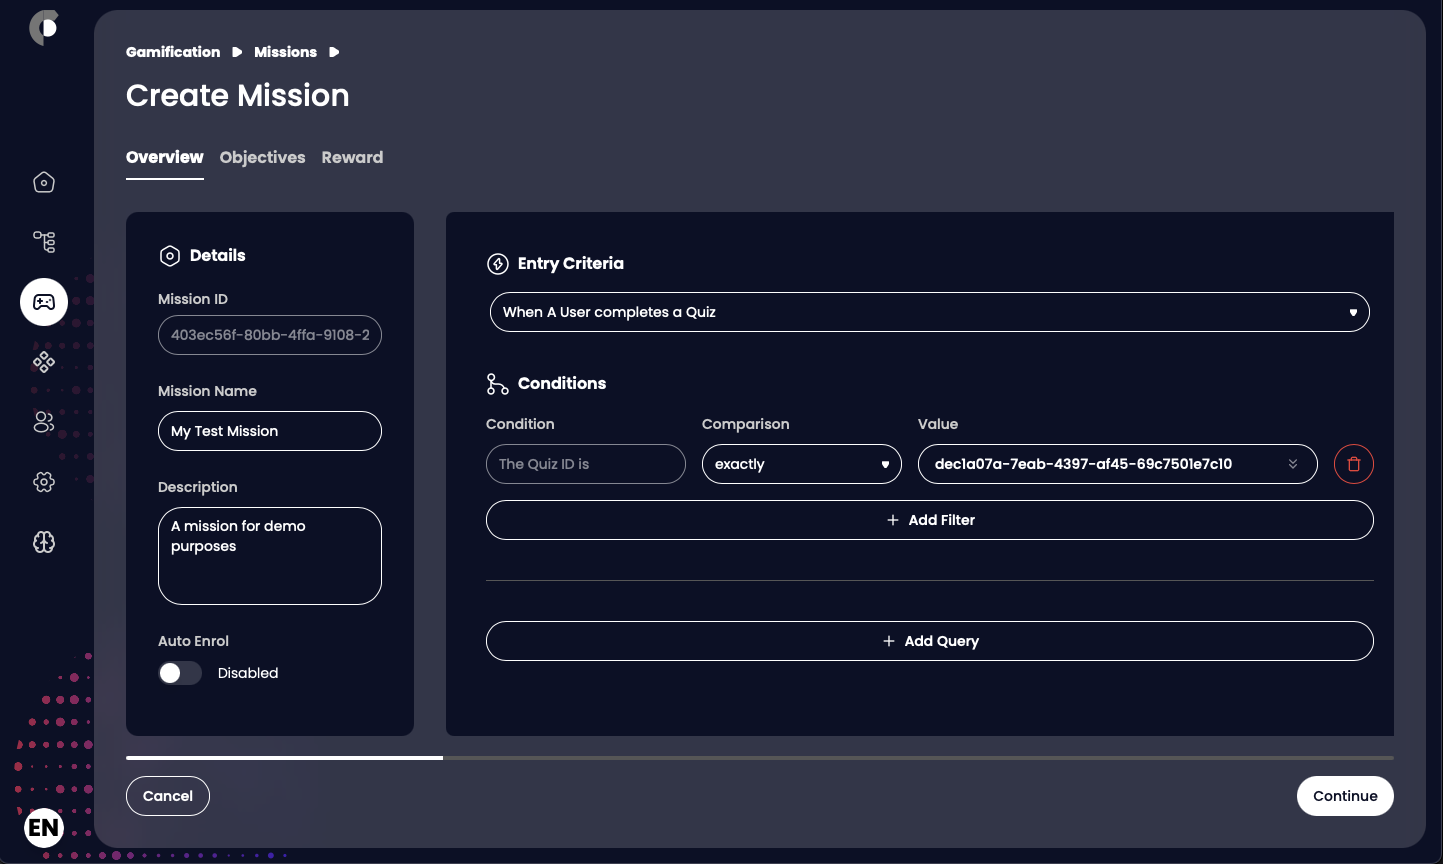
- Conditions: Define the conditions that must be met for a user to be included in the mission. You can use logical operators (AND, OR) to combine multiple conditions.
- Filters: Select the filters that will be applied to the incoming event. For example, if the triggering event is "mission completed," you can filter by mission ID or user ID.
- Queries: Define the queries that will be used to evaluate the conditions. This could include checking attribute values, membership of other segments, or other criteria.
-
Once the entry criteria has been configured, click the Continue button, located in the bottom right corner
-
This will move you on to Objective creation
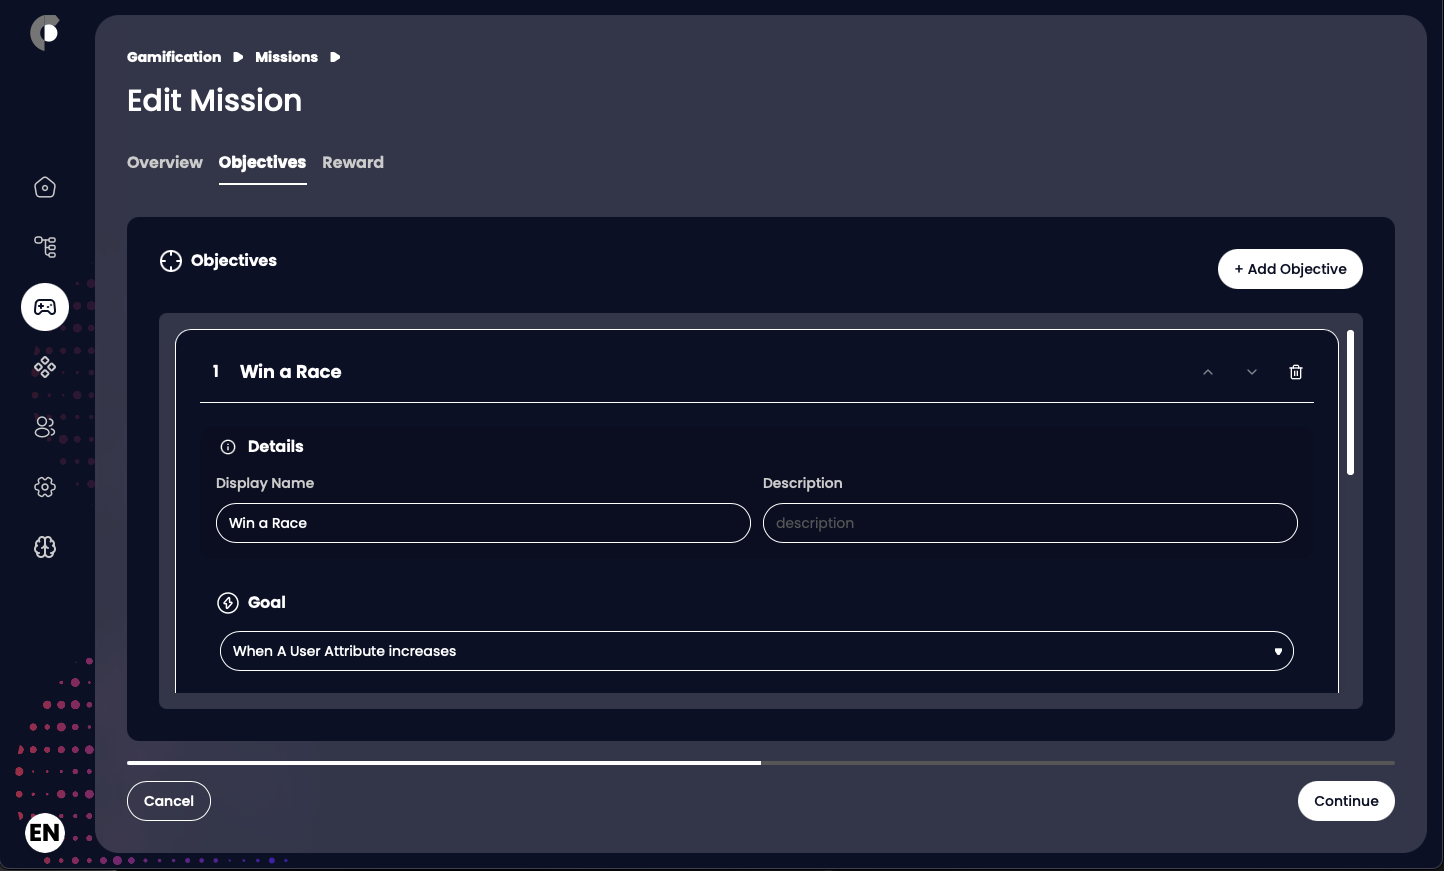
Creating Objectives
To create a mission objective, follow these steps:
- Click on the Add objective button, located in the top right
-
Fill in the required fields:
- Display Name: A friendly name for the mission objective. This is what will be displayed in the dashboard.
- Description: Add a brief description of the objective.
- Goal (Required): Select a goal from the dropdown. This can be a number of different events. For Example; When a user completes a quiz
- Conditions: Define the conditions that must be met for the goal to be met. You can use logical operators (AND, OR) to combine multiple conditions.
- Filters: Select the filters that will be applied to the incoming event. For example, if the triggering event is "user completes a quiz" you can filter by quiz ID.
- Queries: Define the queries that will be used to evaluate the conditions. This could include checking attribute values, membership of other segments, or other criteria.
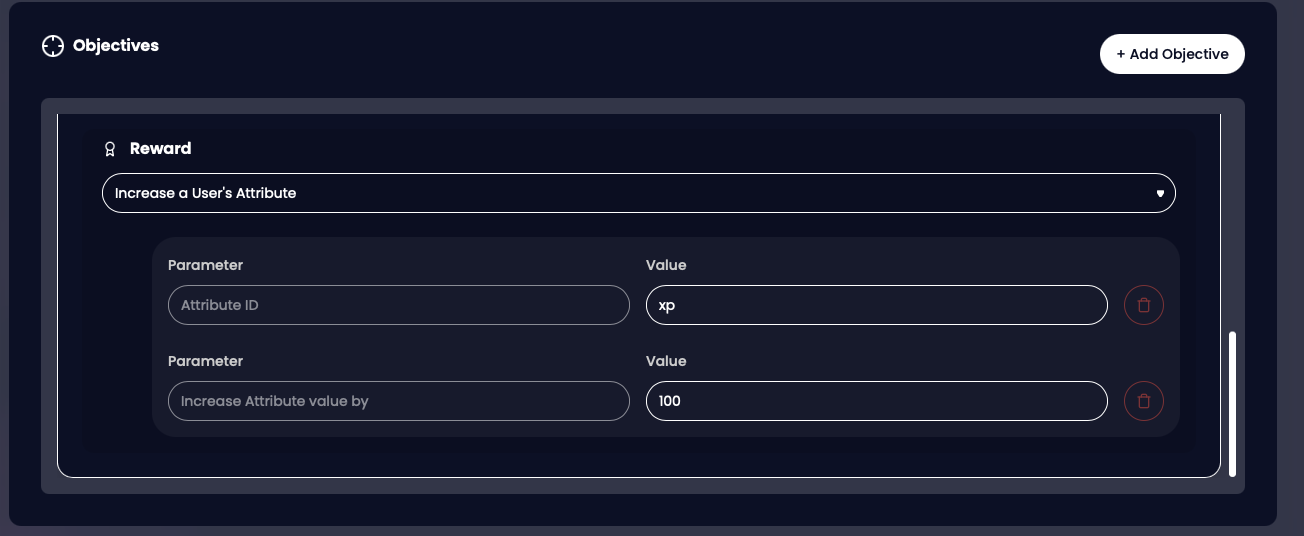
- Reward: Using the dropdown, select from a variety of rewards. For example; If you select "Increase a User's Attribute" you can enter an attribute ID (configured in the attributes section) and a number to increase by